Product Variants
With variants you can add options like size or color to a product. Your customers will see the possible options and will have to select one before making a purchase.
Adding variants
To add variants, select a product and open it for editing. From here, go to variants and click the Add Variants button. This will open the variants dialog.
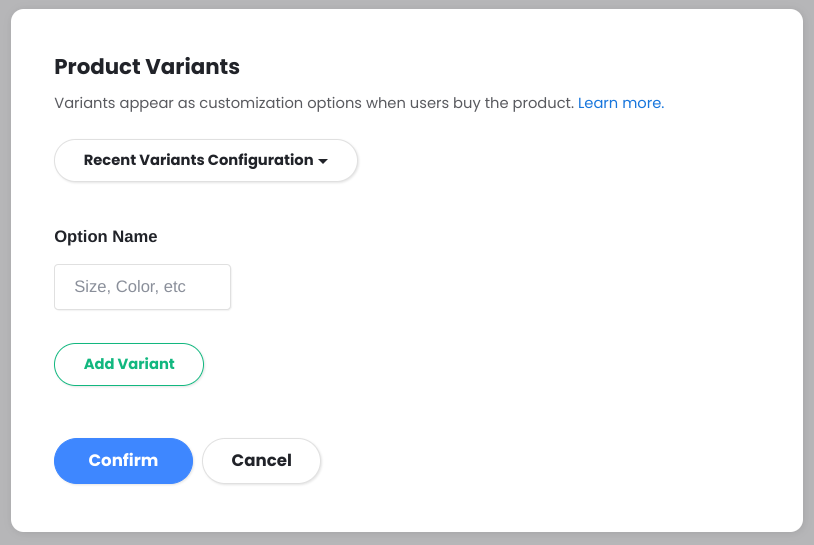
First you need to enter the option name for the variants this product will have. Some common examples are things like Size, Color, Material.
After that, clicking the Add Variant button will create a new variant row.
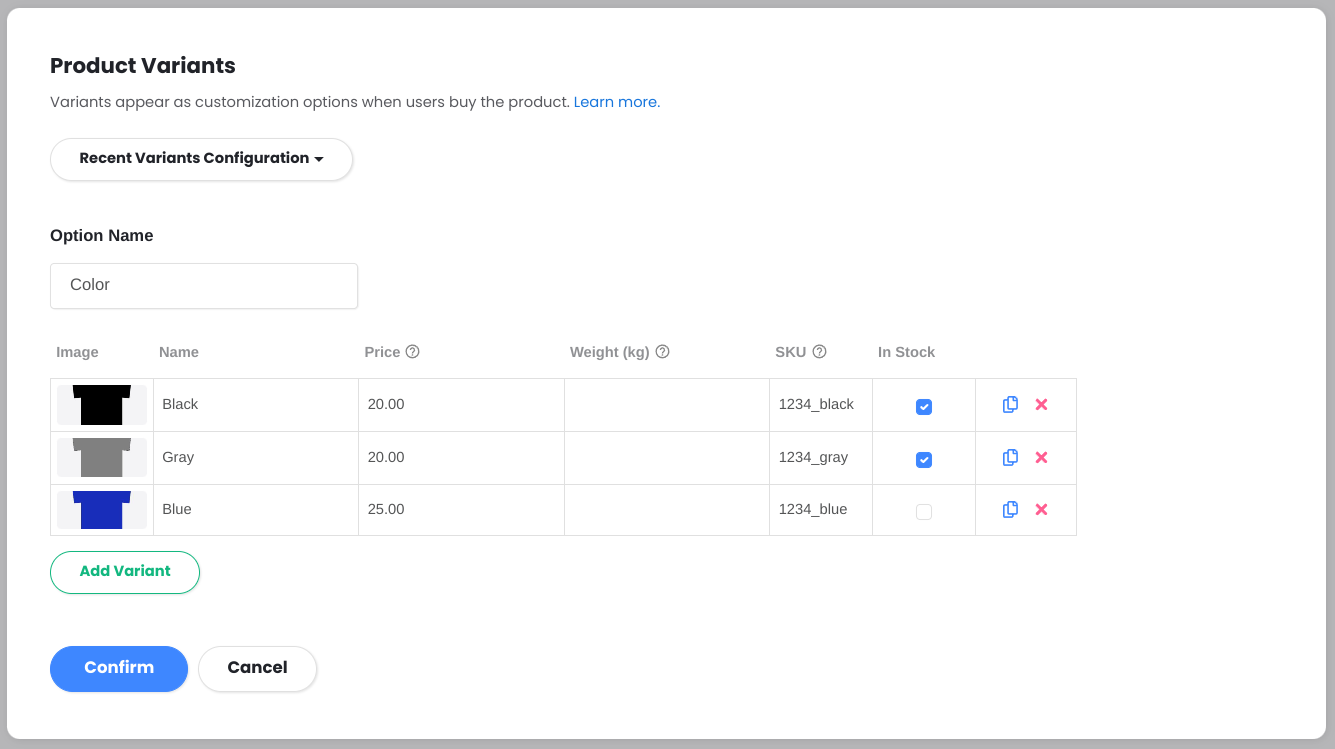
Each variant has the following options:
- Photo - Chose one of the images from the gallery to be associated with this product. It will be shown in customers' carts when this variant is selected.
- Name - A unique name for this variant. This will depend on the type of variants you are adding but try to keep names short and descriptive.
- Price - (optional) A price specifically for this variant. If this is omitted, the cost of the variant will be equal to the product price.
- SKU - (optional) The stock keeping unit for this variant. Use this to distinguish between the different variants more easily.
Depending on the product inventory type, each variant will also have the following option:
- In stock (simple inventory) - The variant has an independent "in stock" status. For example a shirt may be available in Gray but not in Blue.
- Quantity (advanced inventory) - An integer number showing how many items of this particular variant are in stock.
If the product is on sale, the variants will also have the Original Price option:
- Original Price - The cost of the variant when not on sale. Must be greater than the variant price.
Physical and digital products can have different variants settings as well. For physical products you can enter the weight of each variant.
- Weight - The weight of this variant in kg or lb depending on project settings. When omitted the weight of the product is used.
For digital products, a download file can be added.
- Download file - The file that will be sent to customers when they purchase this variant. If no variant file is set, the product download file will be used.
When you are happy with the setup, click the Confirm button. This will return you to the Product editing screen, where now the variants table will be visible.

To confirm the changes and make them live in your project's website click the Save button.
When it comes to organizing your products, you are in control! If you prefer to have different items instead of using variants - that's perfectly fine. Just create a separate product for each option.
Copying previous configs
Recent variant setups will appear in the Product Variants dialog for quick access. This way, when you have multiple products that have similar variants you can copy over the variants config instead of doing it from scratch for each product.
Click on Recent variant configuration, select the options you need and then click the Copy button. This will carry over the option name and variants to the current product.
Keep in mind that this does not sync the variants between the different products. Variant names, SKU and stock can still be different.
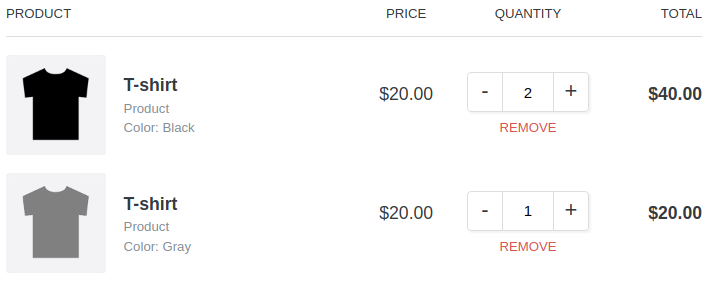
Variants in the Shopping Cart
When a customer wants to buy multiple variants from one product, each variant will be shown as a separate item in the cart.
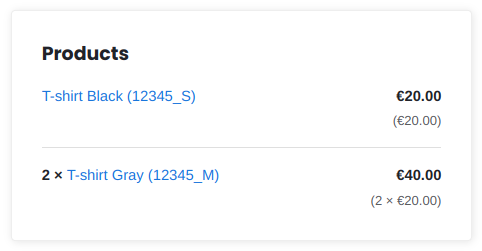
Variants in Orders
When an order is placed the variant will be displayed after the product name in order summaries. If a SKU was provided it will also be shown.