Shipping
Your Reflow project's Shipping settings determine where your shop delivers to and what shipping methods are available. Delivery areas are organized using Reflow's Shipping zones, where each zone represents a supported delivery region and the shipping rates for sending items to that location.
Adding Shipping Zones
To add new shipping zones go to the Shipping settings page and click the Add Shipping Zone button. This will open a dialog for setting up the new zone.
Here, you can enter the name for this zone, as well as all supported regions and delivery methods.
Regions
One zone can group multiple regions together. For instance, if US and Canada will share the same shipping methods, you can put them in one zone together.
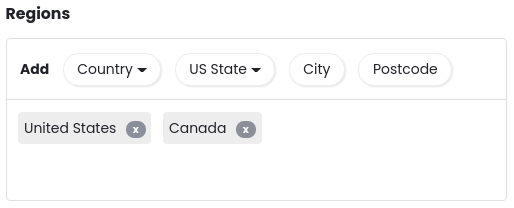
Add all the covered locations for the zone using the buttons in the Regions section. You can include whole countries or regions, US states, certain cities and even specific postcodes.
Shipping Methods
A zone's shipping methods are the different delivery options it supports. You can add methods using the Add Method button. There are two types of delivery methods:
Flat Rate Delivery
With flat rate delivery a base shipping cost is applied to each order. On top of that, an additional cost can be added for each weight unit (kg or lbs depending on project settings) of the ordered products.
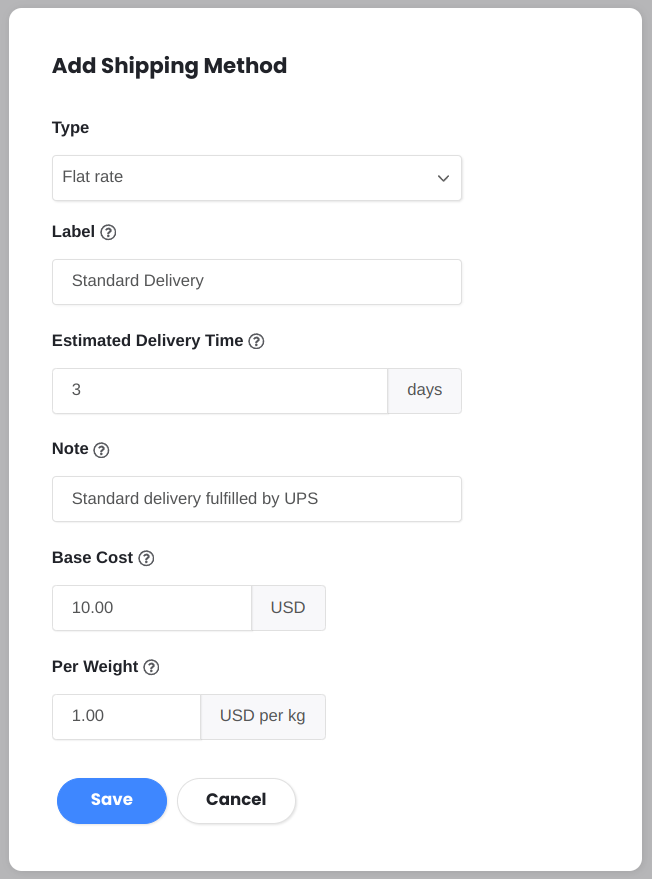
Following the settings from the screenshot above, an order with 5kg weight will cost 10USD + 1USD x 5kg = 15USD.
Free Delivery
The other shipping method allows you to set up free delivery that some orders will be eligible for.
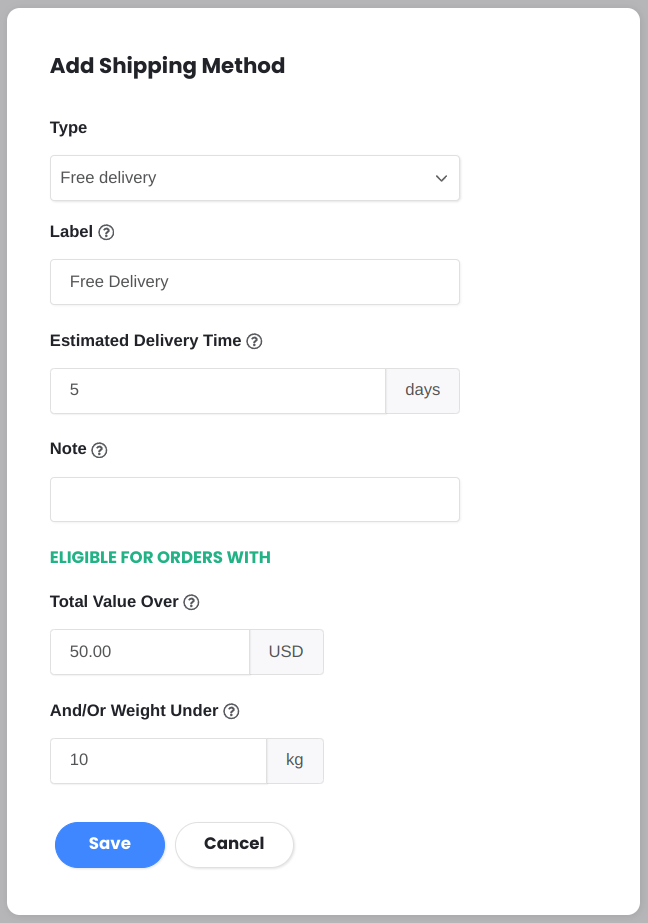
With this method, you select the minimum value an order needs to have for it to qualify for free shipping. You can also optionally set a maximum weight which will disqualify the order from free shipping if exceeded.
If offering free delivery, always make sure to also have a flat rate method as a fallback. This way, when an order does not qualify for free shipping, there will be another delivery option available.
Managing Shipping Zones
You can add as many shipping zones as you need. It's also possible to go back and edit any zone after it's been added.
Reordering shipping zones
When a customer enters their address, Reflow will try and match it with any of your project's shipping zones. The first zone that covers the address will be used.
You can reorder the zones to make sure the correct one is used. This is done using the handles in the left of the zones table.
Enabling and disabling shipping zones
To temporarily make a shipping zone unavailable, you can disable it by turning off the Enabled toggle switch. This will prevent Reflow from offering deliveries to that zone and its shipping methods.
Turning the Enabled toggle switch back on will make the zone available again.
The Other Locations Zone
By default, every Reflow project will have the Other Location zone enabled. This is a special system zone that allows worldwide shipping. You can edit it to configure shipping rates for regions your other zones do not cover.
If you wish to limit which countries your products can be shipped to, disable the Other Location zone.
Printing Order Shipping Labels
Once you've received an order, the easiest way to send it to the customer is using a shipping label service. Platforms such as Shippo, Pirate Ship and EasyPost allow you to print shipping labels using your own printer. The labels then are attached to your packages and they're ready to go!
Some of these services also take care of live package tracking and can offer major discounts on shipping rates.
Printing Labels Using Pirate Ship
To generate labels for your packages using Pirate Ship, first you will need to export the orders you want to ship. Go to the orders page of your Reflow project and click the Export Orders button. Select the orders you want to ship, enable the Pirate Ship Labels format, and download your CSV file.
Now from the Pirate Ship dashboard, click Upload a Spreadsheet from the top of the page and select the CSV file with your Reflow orders. In the field mapping screen, we recommend the following settings:
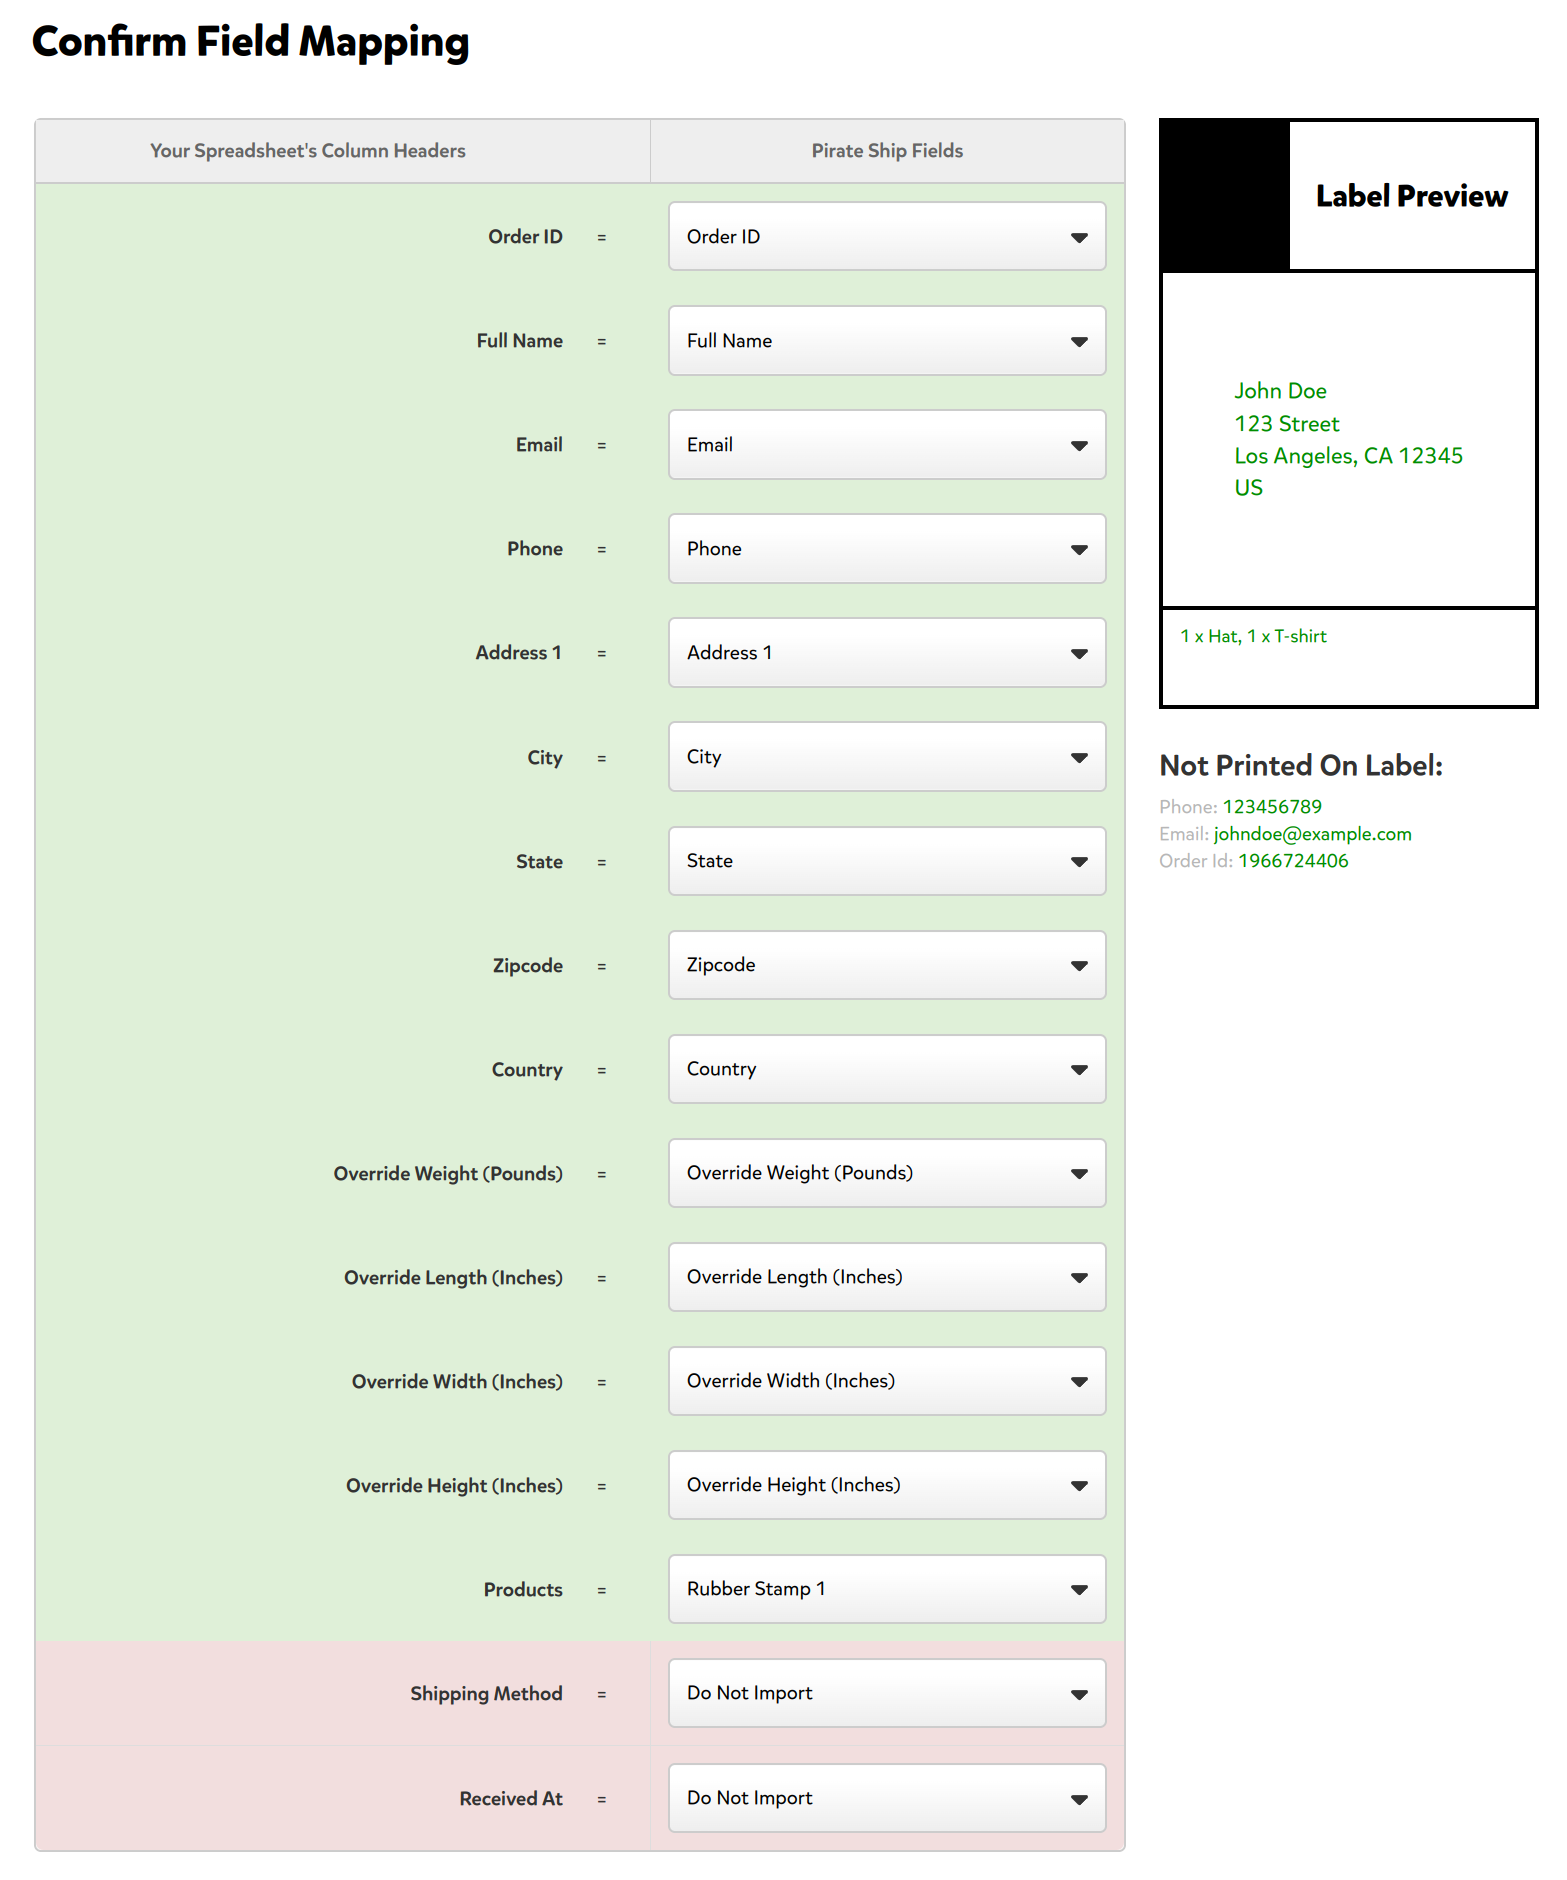
This field mapping should import most of the details about the orders into Pirate Ship. You can then adjust as needed, select a suitable package size and pick from the offered shipping rates.
Printing Labels Using Shippo
To upload orders into Shippo, first go to the orders page in Reflow and click the Export Orders button. Select the orders you want to ship, enable the Shippo Labels format, and download your CSV file.
With your CSV file ready, go to the Shippo Dashboard, click Upload a CSV and add the file. The CSV columns should automatically assign to the appropriate Shippo categories. Upon clicking Upload you should see a success message with information about the number of imported orders.
From here, you will need to configure your packages, choose a shipping rate and print your labels.