Getting Started
In this guide we will explore how you can add Reflow Auth Next to your codebase. The examples below follow the App Router Next.js structure but the same steps will also work in Pages Router if that is your preference.
We are also using TypeScript in our examples. If you prefer regular JavaScript you can convert them by removing the type declarations and changing the file extensions.
Before we get to the code, make sure to visit the Reflow dashboard and enable the sign-in methods you wish to offer to your users.
Reflow supports email+password accounts, as well as social sign-in via Google, Facebook, Apple, Github and Discord.
You can read more about the different sign-in providers and how to connect them in the Auth Docs.

Install the auth-next library in your Next.js project using the package manager of your choice.
You will also need to have Next.js version 13 or above, as well as Node.js 18+ installed.
npm install @reflowhq/auth-next
Create a file named auth.ts in the root folder of your project. This file will import and initialize the library, allowing your server components to access the ReflowAuth instance.
It has two required parameters - the ID of your Reflow project and a unique 32 character string for encrypting session cookies.
- You can find your
projectIDin the Reflow dashboard settings page. - Run
openssl rand -hex 16in the terminal to generate a 32 char secret string. - The ReflowAuth constructor supports additional options.
- Do not expose your project id and secret. If possible, store them as environment variables.
import "server-only";
import { ReflowAuth } from "@reflowhq/auth-next";

export default function getAuth(): ReflowAuth {
	return new ReflowAuth({
		projectID: 123456,
		secret: "REPLACE_ME_WITH_A_32_CHAR_SECRET",
	});
}
Due to the nature of Next.js server components, you will also need to create an app/auth/ directory and add a route handler file called route.ts.
This file will act as the "glue" between the Reflow client functions and the server. Only the server has access to cookies and the session data, so we need the route handler in order to allow client components to communicate with the backend.
- The Reflow client functions are programmed to make fetch requests to
/authwhich is routed to theroute.tsfile. - You can rename or move this file under a different path if you pass an
authEndpointparameter to all client functions so they know where to locate it. - Learn more about route handlers by visitng the Next.js docs.
import getAuth from "../../auth";

export async function POST(request: Request) {
	const auth = getAuth();
	return await auth.handleRequest(request);
}
Server components have access to the user's auth state, account data and subscription status. They are also responsible for conditional rendering.
In this example we check if the user is logged in and display their name.
For this we need to import the auth.ts file we created earlier. From there, we can obtain the auth instance using getAuth(), which allows us to retrieve the logged-in user's name.
- Handling the auth state and user data this way takes full advantage of server-side rendering.
- You can see all available data on the
Userobject in the API Reference. - To see more of the server components in action, check out our fully featured example application.
import getAuth from "@/auth";

export default async function Page() {
	const auth = getAuth();
	const user = await auth.user();

	if (user) {
		return <p>Hello, {user.name}.</p>;
	}

	return <p>Please, sign in</p>;
}
In client components we can trigger actions like displaying a sign-in dialog, signing out the user, or showing a subscription prompt.
Because of interactivity, these actions can not be done inside server components. They can only work within use client components.
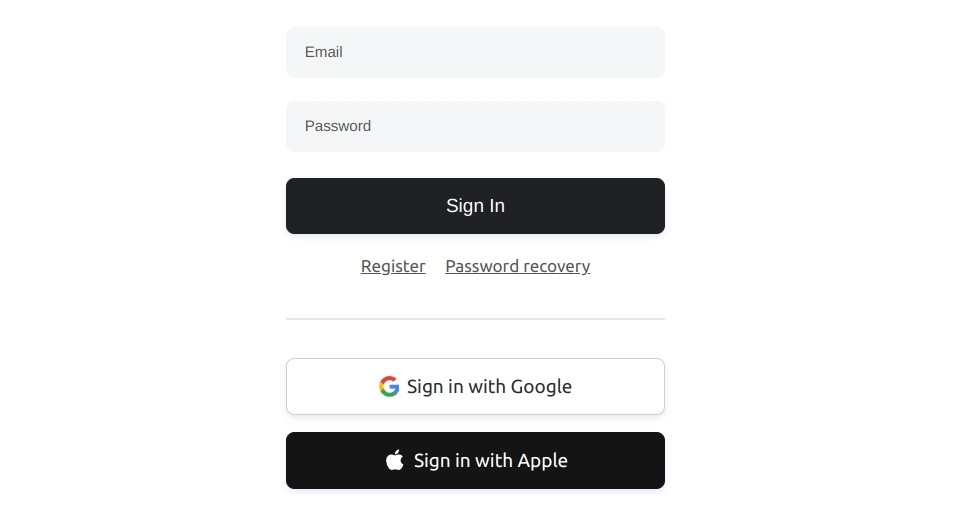
In this example we define a simple SignInButton component. When the button is clicked, the signIn client method is called which opens the Reflow-hosted form for signing in.
- Client components have access only to specific client-side methods. They cannot access user data or session cookies.
- Client methods can be imported from
@reflowhq/auth-next/client. - See our example application for more client component use cases.
"use client";

import { signIn } from "@reflowhq/auth-next/client";

export default function SignInButton() {
	return (
		<button
			onClick={() =>
				signIn({
					onSignIn: () => console.log("User signed in!"),
				})
			}
		>
			Sign-in to your account
		</button>
	);
}
This component can then be added to the page on the server:
import getAuth from "@/auth";
import SignInButton from "./components/SignInButton";

export default async function Page() {
	const auth = getAuth();
	const user = await auth.user();

	if (user) {
		return <p>Hello, {user.name}.</p>;
	}

	return <SignInButton />;
}
This all you need to get started building with Reflow Auth Next.
Check out the rest of the docs for more examples and advanced features.
We also have a blog where we post in-depth articles on how to use the library for practical applications: