Setup
To enable user authentication for your Reflow project, you will need to configure your application's auth domain and one or more sign in methods. This is done from the Sign In settings page (Settings > Sign In). There you can configure each login service you wish to support.
The process involves filling in the Domain and Origins settings, and then enabling and connecting one or more authentication providers (you can see dedicated guides for each in the sidebar).
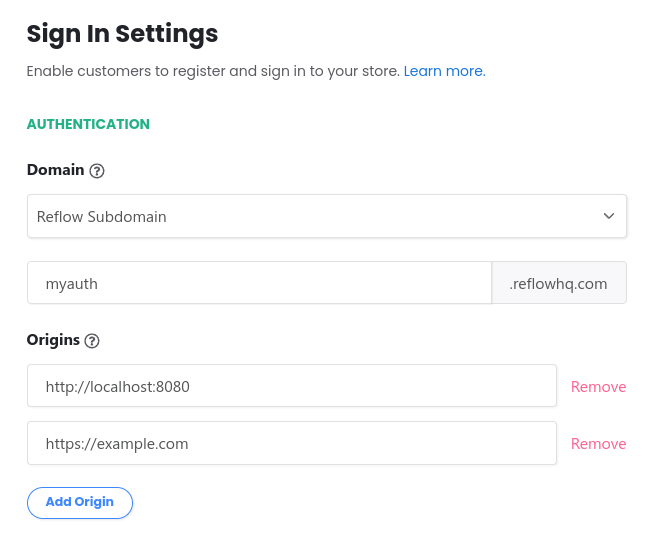
Domain
Users will see the domain in the URL in the address bar of the sign in popup window. This domain is also used for the Redirect URIs for connecting social sign in providers in our follow-up guides.
Both Reflow subdomains (of the form [subdomain].reflowhq.com) and custom domains are supported. Choosing a subdomain is straightforward, you just need to pick a free subdomain and hit the Save button.
Custom Domains
Adding a custom domain allows you to use a subdomain of your website (like auth.example.com) which will make the sign appear as part of your brand.
Setting up custom domains requires access to the DNS settings of your domain. The process is the following:
- Choose which subdomain to use. If your domain is example.com, you can try auth.example.com, accounts.example.com or anything else.
- Sign in to your DNS provider/domain register, and create the following DNS record:
| Type | CNAME |
| Name | <your chosen subdomain> |
| Domain Name | domains.reflowhq.com |
- Wait an hour for DNS changes to propagate.
- In Reflow's settings page, fill in the domain you chose and Save the form.
- If you've setup Google, Facebook or another social sign in provider while using a different domain, you will need to update the Redirect URL of each service with your new domain.
At this point signing in your website will use your new custom domain.
Try keeping changes of your auth domain to a minimum:
- Changing the domain necessitates changing all of the redirect URLs of your social providers. You will need to go through each service you've setup and update the redirect URL.
- If you use the email & password method, changing the domain will make many password manager users unable to locate their login credentials.
Overall it's best to set your domain early in your development process and not change it unnecessarily.
Origins
These are the unique origins that are allowed to display your sign in popup. Remember to include the (sub)domain, http/https scheme and port. Examples: https://example.com, http://localhost:1234, http://127.0.0.1:5000. You can have more than one origin.
After configuring the auth domain and origins, you can proceed with enabling one or more authentication providers. Each service follows a roughly similar set of steps - you create an application in the relevant development portal of each service and copy the CLIENT ID and CLIENT SECRET back to Reflow. Read through the sections in the sidebar for specifics.
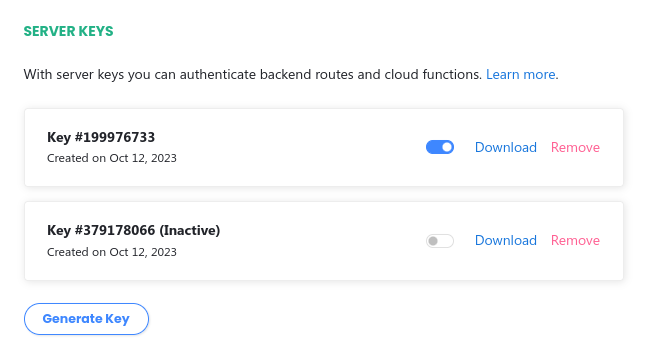
Server Keys
As an optional step, if you wish to authenticate server routes, you can generate a Server Key. This is a public/private key pair using the RSA 2048 algorithm. The private key is stored encrypted on our servers, and the public key is made available for download. With the Reflow library you can obtain a JWT token holding the user info of the connected account, which you can validate on your server using the public key.
We will be releasing examples and expanding this functionality over time.
Reflow stores only the minimal set of data needed to make your logins function. The configuration data such as client ids and secrets are stored encrypted in our database. Additionally, you can review and delete all accounts connected with your project.